Nintendo Switch Joy-Con controllers are crucial for a great gaming experience. They let players enjoy games in many ways. But sometimes, these controllers can have problems. This guide will show you how to fix your Joy-Con. You’ll learn about common issues and how to solve them.
If your Joy-Con keeps disconnecting or stops working, don’t worry. We’ll teach you how to fix these issues and keep your controllers working well for longer. With the right advice, you can fix your Nintendo Switch controllers. You’ll find out what problems to look for, what tools you need, and how to take care of your controllers.
Understanding Nintendo Switch Joy-Con Controllers
The Nintendo Switch Joy-Con controllers mark a big step forward in gaming. They are versatile and innovative. Gamers love their precise control, responsive buttons, and comfortable hold.
Joy-Con controllers are known for their adaptability. They can be attached to the console or used wirelessly. This flexibility offers seamless gameplay. Features include an analogue stick, face buttons (Y, A, X, B), and buttons for home and capture functions.
Knowing how Joy-Con controllers function is vital for a better gaming experience. They allow two players to play together easily. Also, players can customize controls to their liking within the system settings.
Feature
Description
Versatile Design
Can be used attached to the console or as standalone units.
Button Mapping
Users can navigate settings to change button configurations.
Motion Detection
Includes gyroscopic sensors for enhanced gameplay experiences.
Multiplayer Capability
Multiple Joy-Cons can connect to a single console to allow various players.
Durability & Repair
Repairs for control stick responsiveness conducted at no charge under certain conditions.
Many gamers have noticed Joy-Con drift. Understanding these controllers is key to their longevity. Nintendo offers free repairs for some issues, showing their commitment to quality. Knowing about these aspects can make gaming even more enjoyable.
Joy-Con controllers often show Joy-Con problems that affect how we play games. Joy-Con drift is a big issue. It happens when the control stick moves on its own. This can mess up gameplay, especially in games like Mario Kart 8 Deluxe that need careful control.
Players also face connectivity problems with their Joy-Cons. This issue can cause them to disconnect during a game. It might happen because of signal interferences or faulty hardware. Sometimes, dust makes buttons hard to press, leading to more frustration.
In the U.S. and Canada, there are repair services for faulty Joy-Con controllers. This helps gamers fix their common Joy-Con issues. In Europe, the UK, and Switzerland, Nintendo offers free repairs. This is true even for problems due to wear and tear, outside the 24-month warranty.
But, if damage comes from non-Nintendo accessories or mishandling, Nintendo might not fix it. Knowing these issues can help gamers address Joy-Con troubles better. This ensures a more enjoyable gaming experience.
How to Repair Nintendo Switch Joy-Con
Addressing issues with Joy-Con controllers starts by understanding the problems. Look carefully at what’s going wrong. Do you see unexpected movements in games? Or maybe it loses connection when you play wirelessly? Often, fixing these issues means checking game settings and updating the system before you think about hardware fixes.
Identifying the Problem
Knowing what’s wrong with your Joy-Con is key. Issues like the joystick moving on its own are a sign. Make sure these aren’t just simple mistakes. If calibration doesn’t fix it, your Joy-Con might need a repair. It’s best to focus on the controller, not the console, to keep things simple.
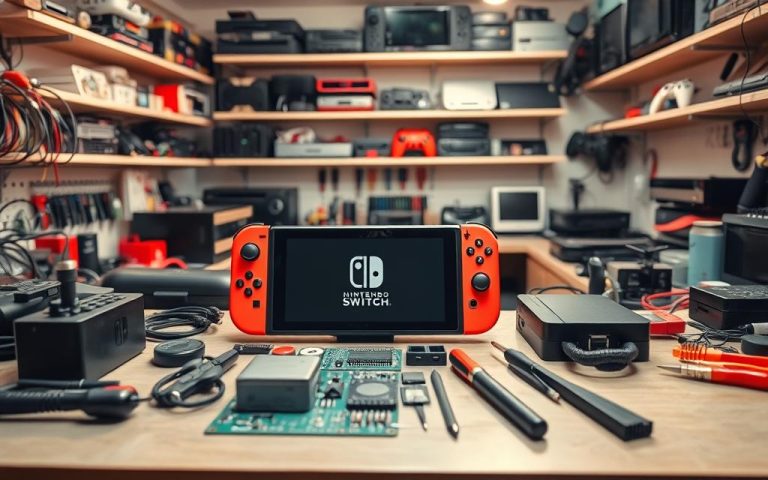
Necessary Tools for Repair
The right tools are crucial for fixing Joy-Con controllers. Here’s what you’ll need:
Tri-Point #000 screwdriver
Phillips #000 screwdriver
Spudger
Tweezers
Replacement joystick parts
These tools help you take apart the controller, safely remove parts, and put everything back together after the fix. Knowing how to use these tools makes the repair smoother and quicker.
Tool
Purpose
Tri-Point #000 screwdriver
Removing the 4 Tri-point screws from the back of the Joy-Con
Phillips #000 screwdriver
Accessing the battery compartment by removing 3 Phillips screws
Spudger
Safely prying open the Joy-Con without damaging components
Tweezers
Handling small internal components during repair
Replacement joystick parts
Replacing faulty joystick components
Step-by-Step Repair Instructions
Learning to take apart Joy-Con controllers can fix many issues. This guide will show you how to tackle problems like joystick drift and button issues. Just follow these step-by-step instructions to repair your controller.
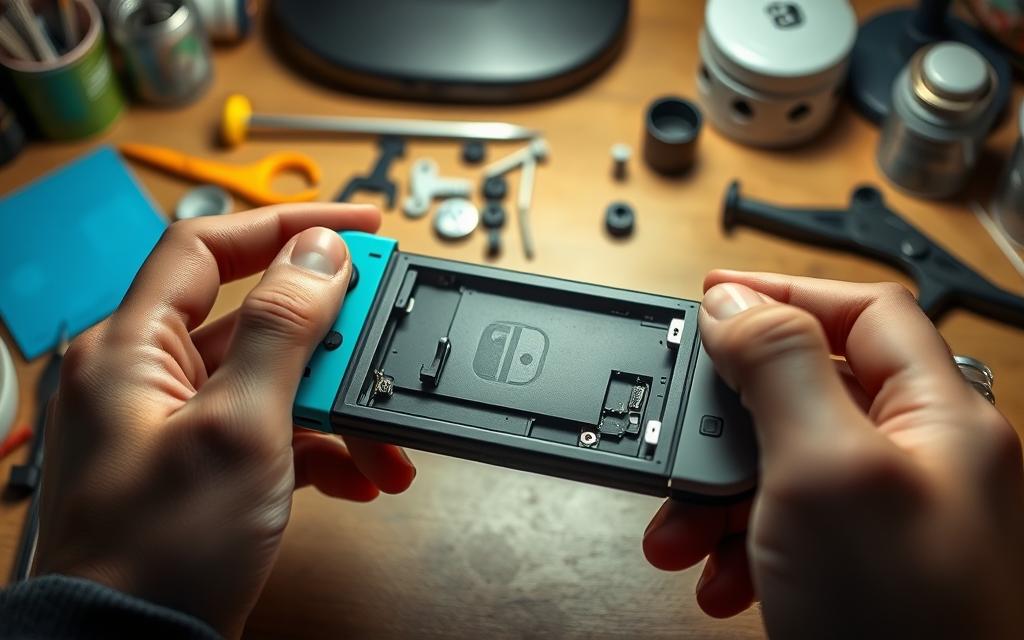
Disassembling the Joy-Con Controller
Start by unscrewing the four Tri-Point screws on the Joy-Con’s back. Use a spudger to gently separate the controller’s halves. Be careful not to damage the internal parts. It’s important not to disturb any connectors to keep everything working.
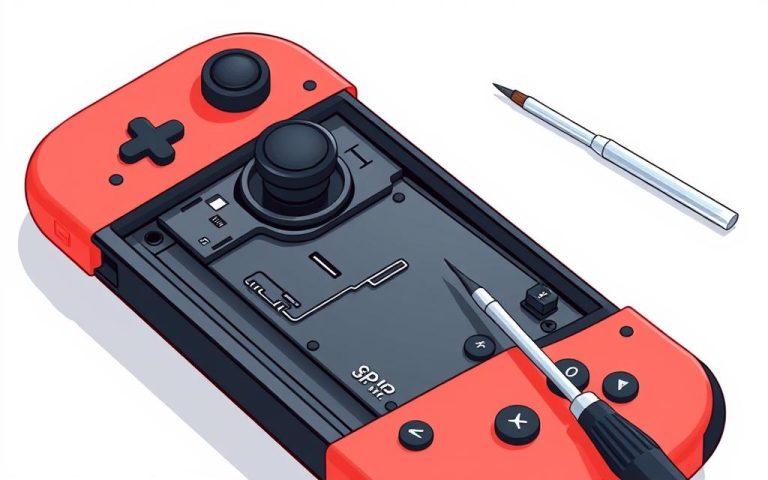
Replacing the Joystick
With the Joy-Con open, find and remove the old joystick. Take out the screws holding it. Then, fit the new joystick and connect it to the mainboard. Make sure all connections are secure. Using the right tools will make this easier.
Reinstalling Components
Once the joystick is replaced, reconnect everything inside, including the battery cable. Ensure the joystick is properly secured. Put the controller back together and screw it tight. Finally, calibrate the joystick using the Switch’s settings. This confirms everything is fixed and working.
Preventative Maintenance Tips
To make your Nintendo Switch Joy-Con controllers last longer, follow some simple tips. Cleaning and storing them right is key. Doing this will make them work better for longer.
Regular Cleaning Techniques
Cleaning your Joy-Con regularly keeps them working well. Use a soft cloth that doesn’t leave lint to gently clean them. If there’s dirt in tight spots, compressed air can remove it. Remember to turn off the controllers before cleaning. Don’t use strong chemicals—they can harm your controllers.
Best Storage Practices
Storing your Joy-Con correctly is important for their lifespan. Keep them in a place that’s dry and free from dust. Using protective cases helps when moving them around. Avoid hot places and direct sunlight as they can damage the controllers. Store them in a cool and shaded place to keep them safe.
When to Seek Professional Assistance
Knowing when to fix your Joy-Con is key to great gaming. Look out for signs that you need a pro’s help. If DIY fixes don’t work, it’s time for an expert look.
Identifying Irreparable Damage
Irreparable issues include broken circuit boards or water damage. Failed DIY fixes like recalibrating or new batteries signal it’s time to seek help. Drifting or stuck buttons mean you might need a professional.
Warranty Considerations
Always check if your Joy-Con is under warranty. If so, Nintendo may fix or replace it for free. This saves you from spending on fixes you could get at no cost.
Community and Online Resources
Engaging with community resources can really boost your experience with Joy-Con repairs. Many platforms offer key insights into fixing problems, sharing personal stories, and finding handy guides for common issues. Joy-Con repair forums are vital for users looking for online help with Joy-Con problems. This way, you don’t have to depend only on the manufacturer’s support.
Useful Forums and Guides
Websites like Reddit and other gaming forums have lots of discussions about DIY repairs. These communities share guides and troubleshooting tips that have worked for others. Joining these forums can give you instant help and encouragement. You’ll notice that the guides are often updated, keeping the information fresh. Try checking out informative repair guides to learn more about fixing drifting joysticks.
Videos for Visual Learning
Video tutorials on YouTube are great for those who prefer learning by watching. These videos make Joy-Con repairs easier to understand by breaking them down into simple steps. They’re very useful for tricky tasks like joystick replacement or circuit cleaning. This makes the repair process less intimidating. Watching these videos can help you feel more confident about doing repairs on your own.
Conclusion
Fixing Nintendo Switch Joy-Con controllers can make them last longer and work better. This lets gamers play smoothly without any break. By using this guide, you can fix common problems like joystick drift and buttons that don’t respond. It’s very important to keep them clean, like blowing out dirt from around the joystick with compressed air.
If fixing it yourself doesn’t work, it’s smart to get help from professionals. For example, if you’ve tried fixing things and it hasn’t helped, reaching out to experts like Scot-Comp can give you a worry-free option. Nintendo will even fix your Joy-Con for free if it’s still under warranty and has drift issues. So, it’s good to remember when you bought your device.
Looking after your Joy-Con controllers well means they’ll last longer and improve how you game. With the correct tools and some know-how, you can do basic repairs yourself. This keeps your gaming fun going without stops. If you need more help, have a look at a detailed Joy-Con maintenance guide or get in touch with professional repairers when necessary.
FAQ
What are common issues with Nintendo Switch Joy-Con controllers?
Common problems include control stick drift, leading to unwanted movements. Users might also face intermittent wireless issues and button faults due to dust or damage inside.
What tools do I need for Joy-Con repairs?
You’ll need a Tri-Point #000 screwdriver and a Phillips #000 screwdriver for Joy-Con fixes. A spudger, tweezers, and replacement joystick parts are essential too. They help in opening, fixing, and putting the controller back together safely.
How can I clean my Joy-Con controllers effectively?
Clean the outside with a soft cloth. Use compressed air to clear dust from tough spots. Always turn off the controllers before cleaning and avoid harsh chemicals.
When should I consider professional help for Joy-Con repairs?
If your Joy-Con has serious issues like unfixable drift, broken circuits, or water damage, get professional help. These problems often need expert attention.
Can I replace the joystick on my Joy-Con myself?
Yes, replacing the joystick is doable if you follow a detailed guide. Make sure to remove the old one carefully. Then, fit the new joystick and ensure all connections are secure before you put it all back together.
How do I check if my Joy-Con is under warranty?
To check the warranty, look at your Joy-Con’s documentation or the Nintendo website. Devices under warranty might get free repairs or replacements.
Are there online resources for learning Joy-Con repairs?
Indeed, many online forums and YouTube have Joy-Con repair guides. These platforms offer detailed instructions and tips for fixing your Joy-Con problems.
Is your Nintendo Switch acting up? Don’t worry, there are plenty of repair options available. Professional services can quickly fix various issues, from battery problems to screen damage. uBreakiFix by Asurion offers over 700 locations across the country. This makes finding a repair shop for your gaming device easier than ever. Most authorised centres can…
The ZR button is key for a great game time on your Nintendo Switch. But, trouble with this button can spoil your fun. We’ll guide you on how to fix issues with the ZR button on Joy-Con controllers. You’ll discover steps to check button settings, carry out important checks, and solve ZR button problems. Understanding…
Is your gaming experience being interrupted by faulty Joy-Con controllers? This guide will give you reliable strategies to fix Joy-Con issues. You’ll learn about common problems and how to troubleshoot them. Our goal is to help you enjoy your Nintendo Switch without controller troubles. Nintendo has worked hard to improve controller performance. This is especially…
Nintendo Switch players often face frustrating analog stick problems with their Joy-Con controllers. These issues can disrupt gaming and impact performance. Knowing how to fix Nintendo Switch analog stick issues is vital for gamers. Joy-Con controllers are complex devices that may develop responsiveness issues. These can include drift, clicking problems, or unresponsive inputs. Our guide…
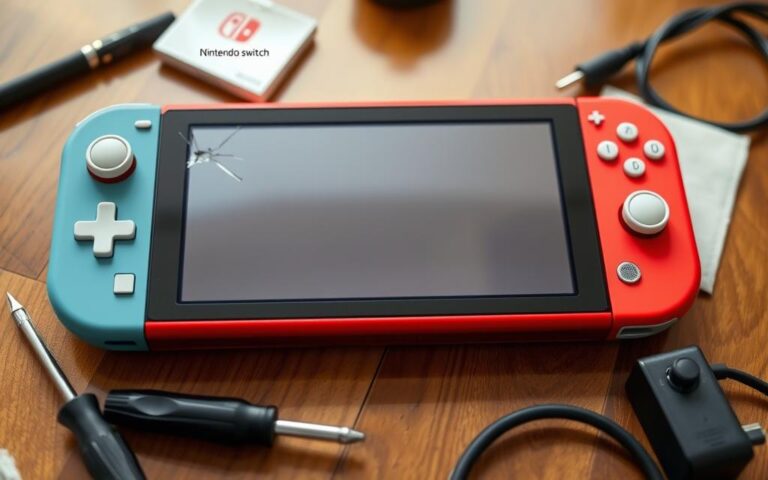
The Nintendo Switch Lite is loved by gamers for being easy to carry around. It’s great for playing games on the go. However, it can face problems just like any gaming device. This guide will look at common issues with the Nintendo Switch Lite. We will cover how to fix these problems so you can…
Nintendo Switch fan noise can ruin your gaming fun. It turns peaceful play into a distracting mechanical racket. Understanding console cooling systems is key for top performance. Fan noise isn’t just annoying. It’s a warning sign of possible hardware problems. Odd sounds from your Switch mean it’s time to check things out. The right approach…