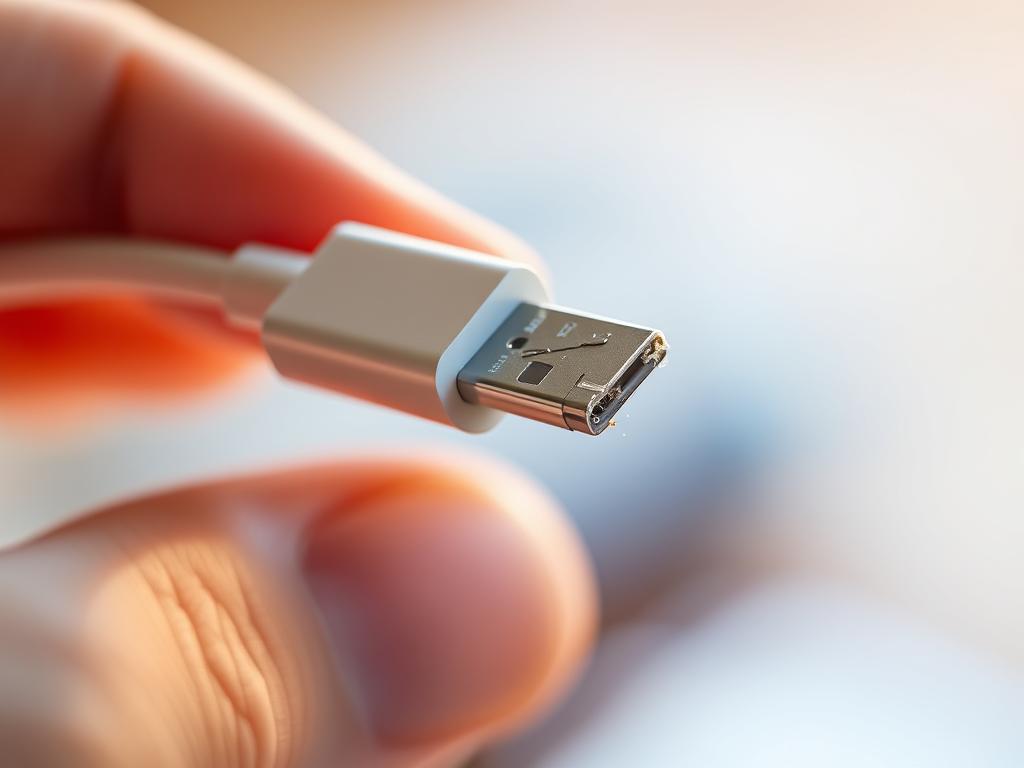
Broken iPhone charging cables can be frustrating. DIY fixes can save money and extend your cable’s life1. Up to 30% of users face intermittent functionality issues with their cables1.
Apple chargers have four colour-coded wires for power and data transmission2. Red and black wires handle power delivery. White and green wires manage data communication2.
Knowing how to repair iPhone charging cables can prevent unnecessary replacements. Expert techniques can restore your cable’s functionality3. This can prevent charging problems that might affect your device’s performance.
Faulty cables often show signs like fraying or bent wiring3. These issues can lead to charging failures. With the right approach, you can potentially fix your damaged cable.
Essential Tools and Materials for Cable Repair
Repairing an iPhone cable requires the right tools and safety equipment. Both professionals and DIY enthusiasts need specific instruments for successful repairs4. Proper tools and a safe workspace are crucial for effective cable repair.
Understanding each tool’s purpose can boost your repair success rate. Selecting the right tools and creating a safe environment are key to effective repairs.
Safety is paramount during electronic repairs. Essential safety gear protects you from electrical hazards and static discharge.
Anti-static mat to prevent electrical interference4
Protective eyewear
Insulated work gloves
Heat-resistant workspace covering
Professional repair kits often include tools for various device repairs. Investing in quality tools ensures precise and safe cable restoration4.
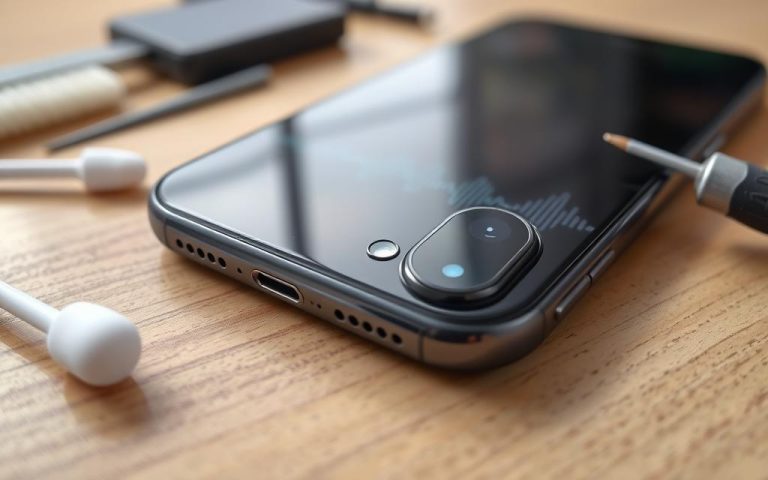
Common iPhone Cable Problems and Diagnostics
Spotting cable issues is key to keeping your iPhone charging properly. Users often face various cable problems that can affect their device’s performance. Knowing these issues helps prevent damage and ensures reliable charging.
Physical cable damage
Charging port obstructions
Connector wear and tear
Software compatibility issues
Physical checks can reveal important clues about cable problems. Visible fraying, exposed wires, or bent connectors are clear signs that need closer inspection7.
About 20% of charging issues come from incompatible chargers or damaged cables7. This highlights the importance of using proper equipment.
Problem Type
Occurrence Rate
Recommended Action
Dust/Debris Accumulation
30%
Port Cleaning
Physical Damage
25%
Cable Replacement
Software Glitches
15%
Device Reset
Diagnostic methods include visual checks, using a multimeter for continuity tests, and step-by-step troubleshooting. Users can do basic checks by looking at cable condition and testing different power sources.
Ensuring clean charging ports is also crucial8. These simple steps can often solve common charging problems.
Professional tip: Regular maintenance prevents 40% of potential charging complications.
If DIY checks don’t work, it’s time to seek expert help. Technicians can quickly spot and fix complex charging issues.
In fact, 80% of repairs are done within 30 minutes9. This shows how efficient professional help can be.
How to Fix a iPhone Cable: Step-by-Step Guide
Fixing a damaged iPhone cable can save you money and extend its life. This guide will show you how to repair your cable with care and attention.
Preparation for Cable Repair
Gather these tools for a successful cable fix:
Sharp cutting nippers or precision knife
Electrical tape
Heat shrink tubing
Wire strippers
Lighter or heat gun
Basic Repair Techniques
Start by examining the cable for signs of wear. Look for frayed edges or exposed wires. A good cable is vital for safe charging10.
Inspect the Cable: Check for any visible damage along the cable’s length
Prepare your workspace with good lighting
Clean your hands and work surface
Be very careful when cutting the outer rubber casing. Slice through it gently without harming the inner wires11. Precision is key to avoid damaging the cable’s structure.
Pro Tip: Always work slowly and methodically to avoid further damage to your charging cable.
Make sure the cable is firmly connected to both the device and power source. If the damage is severe, consider using a certified Apple accessory121011.
Advanced Cable Repair Using Heat Shrink Tubing
Fixing damaged iPhone charging cables demands precision and special methods. Heat shrink tubing offers an effective way to extend cable life. This technique helps prevent further damage and saves money13.
Heat shrink tubing greatly improves cable durability. Its 3:1 shrink ratio allows tight compression around damaged areas13. Users can save £10 to £30 on new chargers by using this method13.
Selecting the Right Heat Shrink Tubing
Choosing the right heat shrink tubing is vital for a good repair. Consider these key factors:
For best results, use a professional-grade heat gun like the VT-1000. This tool ensures even heating and precise shrinkage13. Apply heat carefully, rotating the cable for uniform coverage.
Repair Method
Effectiveness
Cost
Heat Shrink Tubing
High
Low
Electrical Tape
Low
Temporary
Caution: About 30% of smartphone users face charging cable issues yearly13. Proper heat shrink use can greatly reduce electrical shock risks13.
Preventive Measures and Cable Maintenance
Proper iPhone cable care is vital for longer-lasting charging accessories. Many users struggle with damaged cables from daily use. Taking preventive steps can reduce cable wear and save money on replacements.
Good handling practices are essential for iPhone cable upkeep. Avoid sharp bends that can harm internal wires. Keep cables in a cool, dry place to prevent tangling.
A typical charging cable lasts 6-12 months, depending on use and care. Proper maintenance can extend this lifespan significantly.
Daily Care Strategies
Simple protective methods can greatly improve cable durability. Try using cable protectors or spring reinforcements near connection points. DIY repairs with heat shrink tubing can save £20-£30 per cable.
Check your cables often for wear signs. Address minor damages quickly to stop further deterioration.
Extended Lifespan Techniques
For long-term protection, consider advanced maintenance methods. Heat shrink tubing can boost a repaired cable’s life by up to 80%.
When fixing cables, use adhesive-lined heat shrink tubing. This offers better protection against moisture and environmental factors14.
FAQ
Is it safe to repair an iPhone charging cable at home?
Yes, you can safely repair an iPhone charging cable at home. Use proper safety gear and the right tools. Always unplug the cable before starting repairs.
Work in a well-lit, dry area. Be careful when handling electrical parts. Follow the guidelines carefully to ensure safety.
What are the most common issues with iPhone charging cables?
Fraying near connectors and internal wire breakage are frequent problems. Connector damage and strain at connection points also occur often.
These issues usually stem from repeated bending or twisting. Improper storage can also cause damage to charging cables.
How can I diagnose a faulty iPhone charging cable?
Use a multimeter to test cable continuity. Check for visible damage and verify electrical connectivity.
Look for fraying, exposed wires, or bent connectors. Watch for intermittent charging performance. A thorough check will help identify specific cable issues.
What tools do I need to repair an iPhone charging cable?
You’ll need wire cutters, electrical tape, and a soldering iron. Heat shrink tubing, a heat gun, and a multimeter are also essential.
Don’t forget safety gear like protective gloves and safety glasses. These tools ensure a safe and effective repair process.
How long does a typical cable repair take?
A basic iPhone charging cable repair usually takes 15-30 minutes. The time depends on the damage extent and your skill level.
More complex repairs involving soldering might need extra time. These repairs require precision and patience.
Can all iPhone charging cable damages be repaired?
Not all damages can be fixed. Extensive internal wire damage might require cable replacement.
Severe connector corrosion or structural issues may also mean you need a new cable. Always check the damage carefully before attempting repairs.
How can I prevent future iPhone charging cable damage?
Use cable protectors and avoid extreme bending. Keep cables away from heat sources.
Store cables loosely without tight coiling. Use original Apple-certified accessories to reduce wear and tear.
Is it more cost-effective to repair or replace a charging cable?
Repairing a cable is often cheaper than buying a new one. This is especially true for minor damages.
DIY repairs can save money and reduce electronic waste. However, you need the right skills and tools.
What are the risks of attempting a cable repair?
Risks include electrical short circuits and further cable damage. Personal injury can occur if safety rules aren’t followed.
Work carefully and use proper tools. Stop the repair if you feel unsure about the process.
Can I use heat shrink tubing for all cable repairs?
Heat shrink tubing adds strength and insulation to repaired cable sections. It works best on clean, properly prepared wire connections.
Precise application is crucial for optimal results. Make sure to apply it correctly for the best outcome.
Frozen apps on iPhones can be quite vexing. About 25% of iPhone users face this issue monthly1. Running multiple apps at once greatly increases the chances of freezes1. When your iPhone acts up, troubleshooting becomes crucial. Unresponsive apps are a common headache for users. Knowing why apps freeze helps you solve these tech snags quickly….
Welcome to your step-by-step guide on fixing an iPhone 11 screen. In our world today, having a working smartphone is a must. A damaged iPhone 11 screen can be very stressful. But many people can fix their iPhone 11 screen by themselves without needing to go to a pro. This guide will show you everything…
Recent iOS updates have caused earpiece sound issues for many iPhone users. These problems affect various models, frustrating those who rely on their devices for communication. Software glitches in iOS versions 16.0.02 and 17.x are behind these widespread challenges. Users report sound issues that make phone calls difficult. The causes of these problems can be…
Audio issues with your iPhone can be frustrating. iPhone speaker repair costs typically range from £59 to £119. Understanding repair options is crucial for users facing sound-related problems. Modern smartphones need top-notch audio performance. A faulty iPhone speaker can disrupt communication and media enjoyment. Repair costs depend on the iPhone model and damage extent. Apple…
A cracked iPhone 6 screen can be a headache. Luckily, there are budget-friendly repair options available. These solutions can help you fix your device without emptying your wallet. Screen damage is common among smartphone users. iPhone 6 owners have several choices for affordable iPhone repair. These options can mend a cracked screen without costing a…
Today, worries about malware on our devices are high, even for iPhone users who usually have strong security. Even though finding viruses on iPhones and iPads doesn’t happen often, they can still get adware, spyware, and Trojans. This guide tells you how to deal with a virus on your iPhone, showing you how to spot…