If your PS5 controller’s L2 button is not working, you’re not alone. A lot of players face this issue. This guide will help you fix your PS5 controller, focusing on the L2 button.
The L2 button is important for games, and fixing it can save you both time and money. We’ll guide you through troubleshooting, resetting the controller, and more. If needed, we’ll show you how to take your device apart for a detailed fix. With the correct tools and a bit of patience, you can get your L2 button working again.
Introduction to PS5 Controller Issues
Many gamers face issues with their PS5 controllers, especially with the L2 button. These problems often stem from regular use, resulting in malfunctions over time. Issues can arise from wear, external damage, or internal faults, affecting performance.
The most common DualSense issues include joystick drift, which leads to unwanted movements. Cleaning the analog sticks can help by removing dust and dirt that affect accuracy. If cleaning doesn’t fix it, resetting the controller might help recalibrate the sticks.
Sony releases regular updates to improve DualSense performance. Keeping up with firmware updates is crucial. For temporary fixes to joystick drift, adjusting the dead zones in games can help. If problems continue, replacing the analog stick module might be needed.
Keeping the controller cool is vital to prevent overheating, which can affect PS5 performance. Slow download speeds and game crashes can also hinder your gaming. To fix these, update the software or reinstall games. These controller malfunctions underline the importance of knowing how to repair your controller.
To get detailed help with PS5 controller issues, weighing DIY repairs against professional help is wise. This can ensure your controller lasts longer and improves your gaming.
Common Symptoms of a Malfunctioning L2 Button
The L2 button not working can upset any gamer. It’s a common PS5 controller symptom. Many players face issues with their controllers. These problems can spoil the fun of gaming.
Common signs your L2 button might be faulty include:
Unresponsive behaviours when pressing the button.
Inconsistent activation where the button only works sometimes.
Physical sticking of the button, causing gamer frustration.
Spotting these issues early can help avoid worse damage. It’s good to fix these problems quickly. If you have ongoing issues, getting professional help is smart. Scot-Comp specialises in solving PS5 controller symptoms efficiently. You can learn more about their services here.
It’s also important to clean your controller regularly. Dirt and debris can cause issues. Clean the device often using safe liquids for electronics or rubbing alcohol. Always be careful when cleaning to prevent damage.
How to Reset Your DualSense Wireless Controller
Resetting your DualSense wireless controller can sort out many issues. It’s especially good for fixing connection problems. Make sure to follow the DualSense reset steps correctly for a better gaming experience. First, you must turn off your PS5 console. Doing this is key before starting the reset process.
Steps to Reset the Controller
To start the reset, disconnect the controller and find the reset button by the Sony logo. Use something small, like a pin, and push it into the reset hole for five seconds. Then, connect the controller back to the console with a USB cable. Push the PS button to complete the reset. This step is great for erasing old pairing data, which helps in connecting the controller again.
Importance of a System Software Update
If you’re still having trouble after the reset, updating your PS5 software is crucial. Keeping your system’s software up to date reduces compatibility issues and boosts functionality. Knowing the controller update importance lets players improve their gaming. By regularly updating, you ensure your controller works well. It stays in line with Sony’s latest advancements and updates.
How to Fix L2 on PS5 Controller
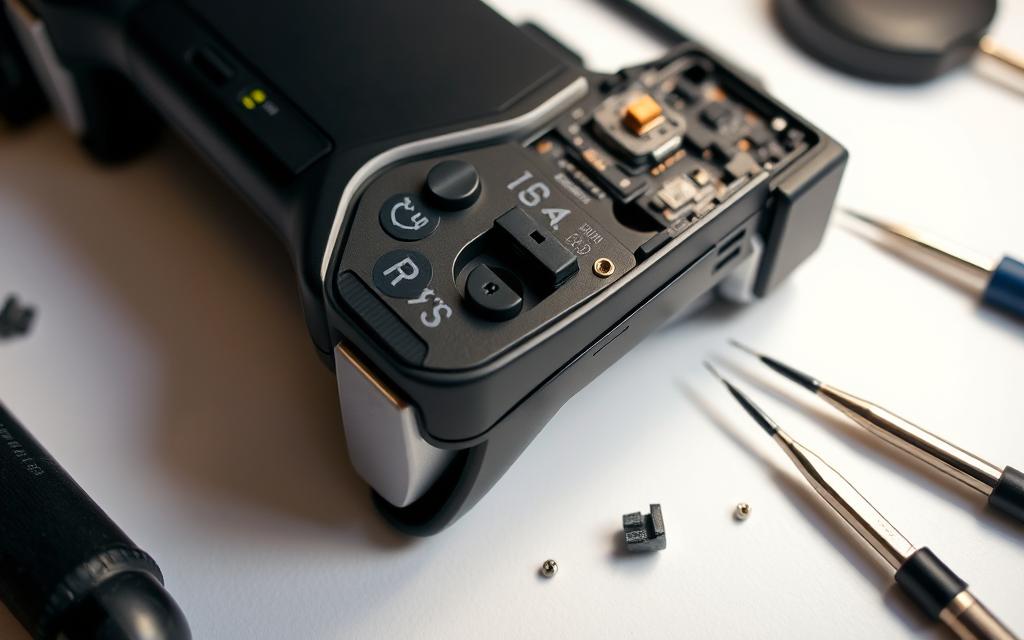
Fixing the L2 button on your PS5 controller needs a step-by-step method. It’s important to check the inside parts closely. First, open up the case to see the parts that make the button work. You might find issues like it being out of place or dirty.
Using good repair methods makes the job easier. Carefully take the controller apart, making sure not to harm any parts. Look inside for any signs of wear or damage. Cleaning the button’s area well can make it respond better.
After cleaning, fixing any alignment issues is key. The L2 button might need to be moved back into the right spot. Following clear instructions is vital to avoid causing more problems. Doing these steps can fix the issue and also improve how your controller works.
Disassembling the PS5 Controller Safely
To take apart your PS5 controller, you need the right tools and a plan. Understanding the tools and how to use them makes the process accurate and safe. It helps avoid harming the controller’s inside parts.
Tools Required for Disassembly
You’ll need certain disassembly tools to begin:
2-millimetre Phillips-head screwdriver
Prying tool, like a spudger
Tweezers (optional for small parts)
A controller repair kit (with extra tools)
Step-by-Step Disassembly Guide
Opening up the PS5 controller should be done carefully to prevent problems. Start by removing the four screws that hold it together, found at the bottom and near the L1 and R1 buttons. Then, use a prying tool to gently open the case without using too much force.
Be careful not to drop any screws inside the controller, as it can make putting it back together difficult. Reading the PS5 controller disassembly guide will help you know what to do at each step.
Keep in mind, changing the controller might void its warranty. If you’re not sure or worried about doing it right, it’s best to get help from Sony Support. They might replace it under warranty.
Component
Screw Type
Location
Main Shell
6.4 mm Cross-head
Bottom corners and near L1/R1
L2/R2 Triggers
6.4 mm Cross-head
Intermediate chassis
Side Screws
1.5 mm Cross-head
Both sides of the controller
Using the right step-by-step controller repair tips makes disassembling smooth and safe. Be patient and careful to ensure a successful repair process.
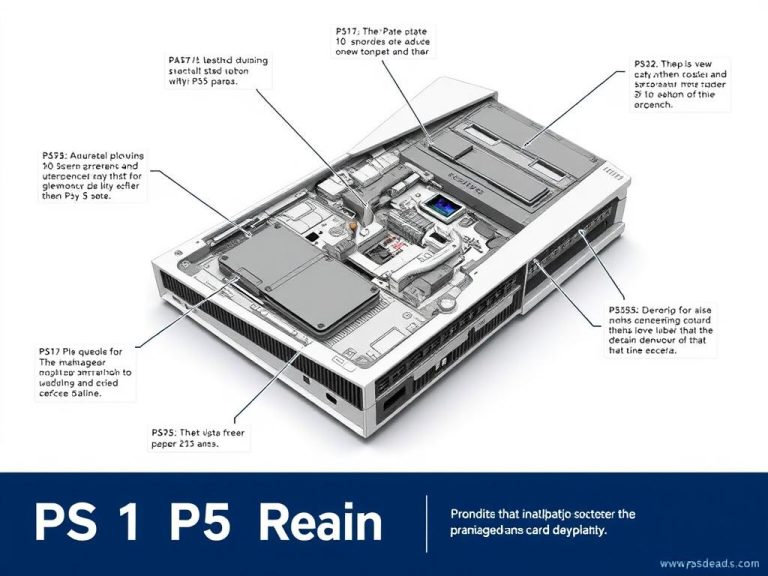
Inspecting Internal Components for Damage
When you look into PS5 controller problems, the L2 button needs a close check. This check might show different PS5 controller internal faults affecting how well it works. This helps decide what fixes are needed.
Checking the Ribbon Cable Connections
First, check the ribbon cable links for the L2 button. Focus on the cable from the trigger to the main board. Bent or damaged connections often cause issues. Fixing or replacing the ribbon cable can sort out these problems.
Identifying Common Internal Faults
Look for usual PS5 controller faults inside. This includes:
Unresponsive buttons
Joystick drift
Damaged rubber parts
Poor solder connections
Finding these issues early helps in fixing them right. Working on these faults by following a guide can make the controller work better.
Realigning the L2 Button Mechanism
Many gamers face the challenge of removing the L2 button from a PS5 controller. It’s a delicate task but knowing how to do it is key to fixing the button. You must take care to not damage surrounding parts.
How to Remove the L2 Button Properly
Start by getting a spudger to remove the L2 button. Slip the spudger under the button and carefully lift it off. During this, make sure not to disturb parts nearby to avoid further repairs.
Techniques to Realign Rubber Components
Once the L2 button is off, align its mechanism is next. Look at the rubber parts and fit them in their place. To make sure the button works well again, hold the L2 button’s sides as you put it back. Press down until it clicks. This means it’s in the right spot.
Component
Action
Purpose
L2 Button
Remove with spudger
Allow access to internal components
Rubber Button
Realign properly
Ensure optimal button function
Rubber Strip
Position correctly
Maintain pressure on button
L2 Mechanism
Reinsert until click
Confirm correct placement
Following these steps will make your controller work better, especially the L2 button. For more help on fixing things, check out manuals like the service guide for the Honda CR-V.
Reassembling the Controller After Repair
After fixing your PS5 controller, putting it back together is key. You must focus to make sure every piece fits right. Using a guide helps in reassembling it.
Steps to Ensure Everything is Snap-Fit
To reassemble it properly:
Start by putting all internal parts back, making sure they’re in the right place.
Push the casing gently until it clicks, showing everything’s in place.
Check all screws are tight to avoid problems later.
Make sure no ribbon cables are caught or wrongly connected before closing it up.
Testing the Button after Reassembly
Testing your PS5 controller well after you’ve put it back together is essential. Check the L2 button by:
Pressing it slowly to feel for any resistence that shouldn’t be there.
Listening for a click sound to make sure it’s working.
Connect the controller to your console or PC to test if it responds correctly during games or on software.
By carefully following these steps, you’ll make sure your PS5 controller works perfectly. This will make your gaming even better.
Conclusion
Fixing a PS5 controller, especially the L2 button, isn’t too hard with the right steps. This guide shows the importance of checking and looking after your controller. Keeping it clean and updated can help it last longer and make gaming more fun.
Ignoring your controller can lead to issues like drifting joysticks and buttons that don’t work. Regular care and checks can prevent these problems. If things get bad, it’s best to ask pros for help.
Looking after your PS5 controller can prevent future issues and improve your gaming. Whether fixing it or just keeping it in good shape, these tips can help a lot.
FAQ
What are the common problems with the PS5 controller’s L2 button?
Common issues with the PS5 controller’s L2 button include it not responding, activating inconsistently, and physically sticking. These problems usually occur due to wear and tear, internal faults, or damage from outside.
How can I reset my DualSense wireless controller?
To reset your DualSense wireless controller, first, turn off your PS5. Then, unplug the controller. Find the reset button near the Sony logo, press it with a pin for five seconds, plug the controller back in using a USB cable, and press the PS button. This completes the reset process.
What tools do I need to disassemble my PS5 controller safely?
To take apart your PS5 controller safely, you’ll need a screwdriver, spudger, and maybe tweezers. These tools help make the process easier and reduce the chance of harming your controller.
How can I identify damaged internal components in my PS5 controller?
Look closely at the inside parts of your PS5 controller to spot any damage. Pay special attention to the ribbon cable that connects the trigger rumble pack to the main board. Look out for any bends or damage to connections that could stop it from working right.
What should I do if the L2 button is still non-functional after attempting repairs?
If the L2 button doesn’t work even after you’ve tried fixing it, it’s time to get help from professionals. You might also want to reach out to Sony Support. Persistent issues could mean the damage inside is severe and needs an expert to look at it.
How do I test the L2 button after reassembly?
Once you’ve put the controller back together, press the L2 button to hear if it clicks. This sound means it’s working right. Also, try using it while playing a game to check if it responds as expected.
Is your PS5 controller’s R2 button acting up? Don’t worry! There are ways to fix it. A faulty trigger can ruin your gaming fun, so let’s sort it out quickly. Players need solid methods to tackle DualSense R2 button issues. The PS5 controller repair process involves finding the cause and applying the right fix. This…
PS5 controller connectivity issues can be a real pain for gamers. A controller that won’t connect can ruin your gaming plans. PlayStation 5 controller problems are quite common. DualSense connectivity issues can arise from various technical challenges. Our guide offers practical solutions for PS5 controller troubleshooting. We’ll help you solve connection problems and get back…
Having your PS5 controller drift can really mess up your game. The DualSense is known for being innovative but can still have issues. Stick drift happens when the controller senses movement without being touched. This can cause characters to move on their own. This guide will explain why joystick drift happens. It might be due…
Many gamers have had trouble with the PS5 controller’s triangle button. About 60% reported issues after a system update to version 23.3.1. Even rarely used controllers, like ones for two-player games, can have problems. This shows how crucial it is to try fixing these issues yourself before you think about replacing or repairing the controller….
PS5 repair durations can be tricky for gamers with technical issues. Knowing repair timelines helps manage expectations and reduce gaming downtime1. The repair process length depends on several factors affecting service efficiency2. Minor PS5 repairs usually take a few days to a week. More complex issues might need longer to fix1. Sony-approved repair centres use…
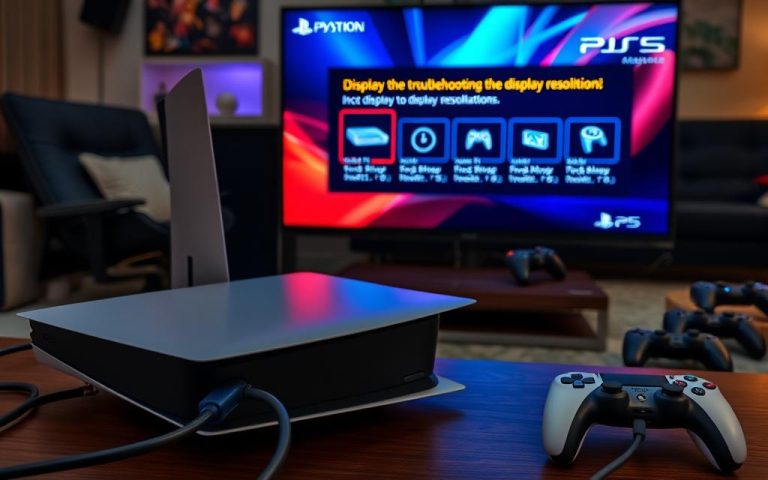
PS5 display problems can be a real pain for gamers. Nearly 30% of console owners face HDMI connectivity issues. These problems can put a damper on your gaming fun. The PS5 boasts impressive 4K 120Hz video output. But to get the best experience, you need to set it up right. Most TV connection issues come…