A blurry computer screen is annoying, especially for Windows 11 users. In this digital era, a clear display is crucial for work and enjoyment. Screen blurriness can occur for many reasons, such as wrong display settings or old graphics drivers. But don’t worry, this article has many tips to help clear up your screen.
Display connection problems are common. Luckily, allowing Windows to auto-fix apps can work wonders. Reinstalling your graphics card drivers, by hand or with Driver Easy, helps many with Windows 11 displays. Also, changing DPI scaling settings can improve your screen’s resolution. This makes texts and images sharp again. Let’s look at these simple solutions to make your screen clear.
Understanding Blurry Screens
Blurry screens can reduce productivity and user happiness. Figuring out why screens go blurry is key to fixing them. Issues can arise from both software and hardware.
Common Causes of Screen Blurriness
One big reason for blurry screens is setting them up wrong. Important factors include:
Dirty screen surfaces
Incorrect screen brightness settings
Low screen resolution
App-related problems
Software bugs or glitches
Hardware malfunction
Getting to the root of blurry screen problems is the first step to solving them. Sometimes, changing apps can show if certain settings make things blurrier.
The Impact of Display Settings
Right display settings can make screens clearer. For instance, Windows 10 often uses a DPI of 125% or 150% for sharp displays. Adjusting these can make text clearer, especially on big screens.
Using different resolutions on several monitors may cause issues. The effects of display settings also matter in many applications. Turning on automatic scaling in Windows Settings can help make various apps clearer.
How Do You Fix a Blurry Computer Screen?
Start fixing a blurry screen by checking the basic settings. It’s crucial to understand why you’re troubleshooting. This makes finding a solution faster. Many methods exist to clear up blurriness, including for texts and apps on external screens.
Importance of Troubleshooting Steps
Sharp images boost how we enjoy our screens, as we grasp images way faster than text. Most times, blurriness comes from scaling issues, hurting apps that do not support it well. Those using two screens face more challenges, and Windows users know this issue well.
Windows lets you tweak settings for better looks or performance. Sometimes, choosing a lower resolution can make apps look clearer. Beware, outdated or newly updated drivers might mess with your screen’s clarity.
Next, we’ll explore solutions like updating drivers with Auslogics Driver Updater, turning on ClearType, and fine-tuning your display to remove blur.
Restart Your System
First, try restarting your system to fix display issues like a blurry screen. Many people forget this easy step, but it really helps. A quick restart can fix small problems and make everything work better.
Why Restarting Works
Restarting your computer refreshes everything. It fixes small issues that might cause blurry pictures. It also lets any new updates or settings start working, often clearing up any display problems.
How to Restart Properly
To restart your computer the right way, just do this:
Press Alt + F4 on your keyboard to see the shutdown window.
Pick the “Restart” option from the list.
Click “OK” to go ahead with the restart.
Once your computer has restarted, check if the screen looks better. This simple step can keep you from having to try harder fixes.
Tweak Display Resolution and Scaling
Optimising your computer’s display resolution and scaling can greatly enhance clarity. It gets rid of those annoying blurry screens. You will need to adjust settings thoughtfully to better your viewing experience.
Adjusting Display Resolution
To start, open the display resolution settings. Press Win + R, type ms-settings:display, and hit enter. You’ll see a list of resolutions. Choose the recommended one, usually your monitor’s native resolution. Higher resolution means finer details and less blur.
Updates to drivers or apps may mess with your settings. Keep an eye out if things seem off.
Modifying Scaling Settings
Once you’ve handled the resolution, adjust the scaling. Windows 10 has options for tweaking DPI scaling. This is for screens with high DPI. Blurry apps like Audacity and Quicken show you need to fine-tune this. Adjusting scaling makes texts and elements crisp and clear.
On high-resolution displays, low scaling can harm visibility. It’s crucial to find that perfect balance for a sharp display.
Enable ClearType Text
ClearType technology makes reading on screens much better. It works by adjusting the colours within each pixel. This makes the text sharp and easy to read. It’s great for people who work with graphics or text all day.
What is ClearType?
ClearType is a special feature from Microsoft. It makes text clearer and less tiring to look at on screens. It is perfect for those who use high-resolution screens. This helps in both bright and dim lighting.
Steps to Enable ClearType in Windows 11
To turn on ClearType in Windows 11, just do the following:
Press Win + S on your keyboard.
Type “ClearType” in the search bar.
Select “Adjust ClearType text” from the results.
Follow the prompts to pick the best text for you.
Finish choosing from all five text samples to get it just right.
Turning on ClearType makes your screen look better. It also lets you adjust it to fit what you like and your screen type.
Benefits of ClearType Technology
Impacts on User Experience
Enhances text clarity on high-resolution screens
Improves readability, reducing frustration
Reduces eye strain during prolonged use
Facilitates comfortable extended work sessions
Customizable for personal preferences
Adapts to individual viewing conditions
Works best with modern display technologies
Maximizes advantages of LCD and LED monitors
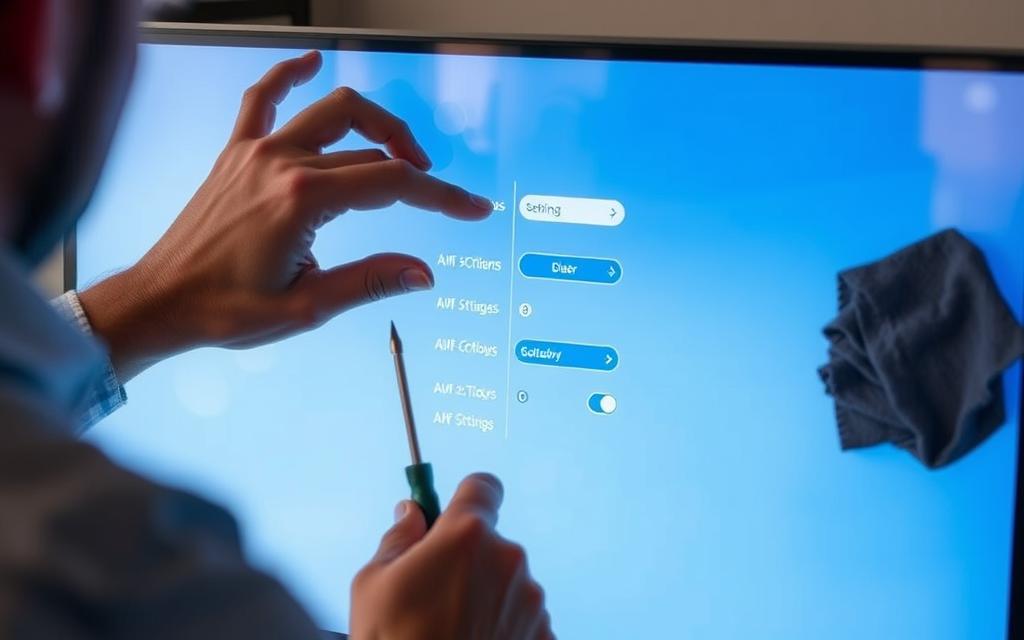
Change Application Graphics Preference
Screen blurriness often comes from application settings needing a tweak. If you’re seeing fuzzy displays, try adjusting the graphics preference. This focuses on what your applications need. It greatly boosts visual clarity, a big plus for demanding software.
Setting Graphics for High Performance
Setting graphics to high performance means more power goes to apps needing clarity help. It tackles pixelation and fuzzy visuals well, a common issue in graphic-intense programmes. To adjust, head to System Settings in Windows, and under Display, manage application preferences.
How to Adjust Application Settings
To make your apps run better, follow these easy steps:
Open the Settings menu on your Windows device.
Go to System then Display.
Scroll to Graphics settings.
Pick the app to adjust, from a list or browse to add one.
Choose High performance for the best graphics.
Making these changes boosts app performance and fixes blurry displays. Switching to high performance graphics mode gives you clearer images and text. You’ll see a sharp difference.
Switch to Best Appearance Settings
To make your screen look clearer, you can adjust the visual settings in Windows. The right settings make a big difference in how your display looks. By using the best visual effects, you reduce graininess and make everything on your desktop look sharp.
Understanding Visual Effects Modes
Windows lets you choose different settings for visual effects. These affect how sharp and detailed your screen appears. If you pick “Best Appearance”, your screen prioritises quality. This makes text and images look better and improves using apps with detailed graphics.
You can change to these settings in the Control Panel’s System Properties. There, you can turn certain visual effects on or off. Below is a table that shows how different settings change display quality.
Setting
Visual Fidelity
Performance Impact
Best Appearance
High
Moderate
Best Performance
Low
Minimal
Custom Settings
Varies
Varies
Optimising these settings enhances your display, making it less blurry and more readable. Adjusting visual effects is key to a clear and sharp screen.
Adjust App DPI Settings
DPI, or dots per inch, affects how clear images and text look on screen. Incorrect DPI settings often cause blurry text and graphics. By adjusting DPI in Windows, you can make everything clearer, especially on high-res screens. Remember, not every app adjusts DPI smoothly on its own. Sometimes, you need to step in and fix it manually.
What is DPI and Its Importance?
Windows typically uses DPI settings from 125% to 150% for sharp monitors. But this might make some app text look blurry. If you lower scaling to 100%, it might make text too tiny. By going to Advanced scaling settings in Settings > Display, you can change scaling. Here, a toggle lets you fix app scaling automatically to suit your sight.
If texts in certain apps are blurry, you can adjust the DPI for these apps yourself. When using multiple monitors with different resolutions, make them all the same to reduce blur. For those looking for more solutions, the Windows 10 DPI Fix tool can help. It uses older scaling methods to possibly make text clearer.
If blurry text doesn’t improve, going back to the original DPI setting may help. Keeping DPI in line with what your display can handle improves clarity. This leads to a better experience in Windows.
Update Your Graphics Driver
Keeping your graphics drivers updated is key for top performance. Old drivers can cause screen blurriness and slow your computer down, especially on graphic-heavy apps. Updating your driver fixes compatibility problems, making your screen clearer.
Why Keeping Drivers Updated is Essential
Drivers let your system and hardware communicate well. If they’re old, they might not work with new software or could have bugs. Updating your graphics driver brings new features and fixes, making everything look better. For tips on fixing a blurry screen, check this helpful guide.
Steps to Update Graphics Drivers
To update your graphics driver, just follow these steps:
Press the Windows key and type Device Manager. Then open it.
Look for the Display Adapters section to find your graphics card.
Right-click your graphics card and choose Update Driver.
Select to search automatically for updated driver software.
If asked, follow the steps to finish the update.
For the best updates, go to the manufacturer’s website. You’ll find the newest drivers with important improvements there.
Rollback Recent Windows Updates
Screen blurriness after a Windows update can be really annoying. Sometimes new updates bring bugs that mess with display quality. If you’re facing this, you can undo the update. This means getting rid of the latest updates that might be causing trouble. Doing so could make your computer run smoother.
Common Issues After Updates
Windows updates can lead to problems like bad screen clarity and wrong screen size. Sometimes, Windows might set the wrong screen size. This happens if it can’t figure out the right one because of update or driver issues. Also, some apps can change your screen settings without you wanting them to.
Incorrect resolution settings
App-specific settings overriding Windows defaults
Hardware limitations due to graphics card performance
Faulty or corrupt drivers leading to performance issues
Display adapter mode conflicts with multiple monitors
Bad graphics drivers, new updates, or conflicting apps can ruin screen quality. If your screen looks off, undoing a Windows update might help. It fixes issues and brings back the good settings you lost during the update.
Issue
Description
Potential Solution
Incorrect Resolution
Windows fails to detect the correct screen resolution.
Rollback Windows update or adjust resolution settings.
App Overrides
Third-party apps change display settings.
Check app preferences and settings.
Driver Problems
Corrupt or out-of-date graphics drivers.
Update, rollback, or reinstall drivers.
Multiple Monitors
Different resolutions cause display issues.
Adjust Display Adapter mode settings.
Conclusion
Fixing a blurry screen isn’t as hard as it seems. You can make it better by tweaking your display options, turning on ClearType, and updating your graphics drivers. These steps make your screen clearer. This leads to better work and more enjoyment from your tech.
It’s also key to look at resolutions, especially when using Remote Desktop. Making your fonts smoother can make text easier to read. This helps a lot of people who face similar issues with blurriness. Adjusting your monitor and reducing glare can ease your eyes during long tech sessions, too.
If you’re looking for a different remote access tool, like AnyViewer, clear images are crucial. Using all these tips can tackle blurry screen issues. Thus, it increases comfort and makes tech use more pleasant and healthier.
FAQ
What are the primary causes of a blurry computer screen?
A blurry computer screen can stem from wrong display settings or inappropriate scaling. Low screen resolution and outdated graphics drivers are also common culprits. When you use two monitors, the issue might get worse because each screen might use different scaling.
How can I fix screen blurriness in Windows 11?
To sort out blurriness in Windows 11, first, adjust your display resolution and scaling settings. Then, turn on ClearType text to make fonts clearer. Don’t forget to update your graphics drivers. You might also want to set application graphics to high performance.
Why is restarting my computer recommended for fixing display issues?
Restarting your computer can clear many temporary glitches affecting the display. It is a simple first step before moving on to more detailed fixes.
What steps should I follow to adjust my display resolution?
For changing display resolution, press Win + R and type ms-settings:display. Then, pick the recommended resolution. This action matches your monitor’s capacity for clearer images.
What is ClearType and how do I enable it?
ClearType is a tool by Microsoft to improve text visibility on your screen. To turn on ClearType, press Win + S and look up ‘ClearType’. Follow the instructions to tweak text settings for more clarity.
How do I improve graphics settings for specific applications?
For better application graphics, go to System Settings and choose Display settings. Then, adjust the affected app’s graphics to high performance, allocating more GPU resources to it.
What does switching to ‘Best Appearance’ mode do?
Choosing ‘Best Appearance’ mode makes your display focus on looks over performance. It improves desktop elements and overall visual quality, addressing issues like graininess.
How can I adjust the DPI settings for applications?
To change DPI settings, right-click the app icon and pick ‘Properties’. Then go to ‘Compatibility’ tab. There, you can set DPI settings to better suit the application.
What is the importance of keeping graphics drivers updated?
Up-to-date graphics drivers avoid compatibility problems that cause display issues. They make sure your computer works well with the latest Windows features.
How do I rollback recent Windows updates that may have caused blurriness?
If new updates made your screen blurry, you can undo these updates. Use the Programs and Features tool to find ‘View installed updates’. Then, uninstall the updates linked to your display problems.
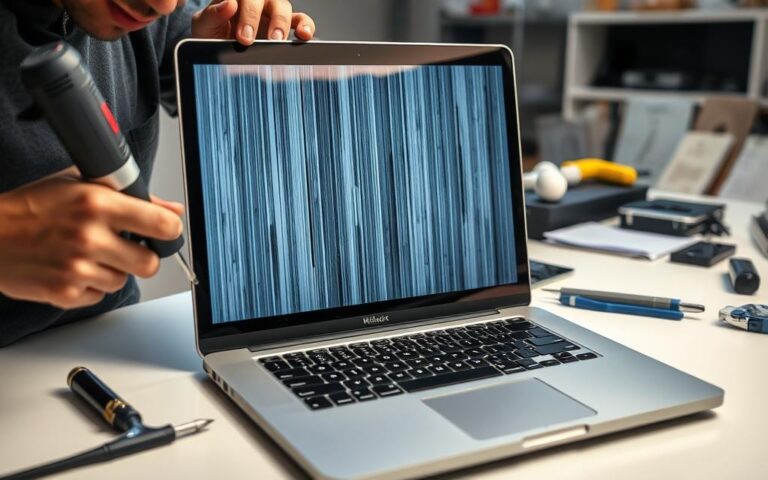
Seeing vertical lines on your MacBook Pro screen can be annoying and slow you down. It’s important to know how to deal with these lines. They might happen for many reasons, like hardware problems or software errors. This guide helps you troubleshoot these lines on your MacBook. You’ll learn both basic and advanced strategies. It…
Many users find Windows 10 system issues daunting. Simple troubleshooting techniques can resolve about 30% of computer problems. Learning basic repair strategies is essential for every user. Computer glitches are quite common. Users face system crashes and errors several times a month. Fixing Windows 10 issues requires a step-by-step approach. Most repairs involve everyday problems…
Is your device lagging, freezing, or taking forever to load? Slow performance is a common frustration for many users. Over time, temporary files, background processes, and outdated software can drag down even the fastest machines. Modern systems accumulate unnecessary data, especially when frequently using sleep or hibernation modes. This buildup affects responsiveness, multitasking, and overall…
Random computer shutdowns can ruin a productive work session. These sudden interruptions disrupt workflow and risk data loss. Understanding the causes of system instability is vital for effective troubleshooting. Modern computers face many issues that can trigger random shutdowns. Hardware faults and software conflicts can appear without warning. Finding the exact cause requires a systematic…
Having trouble with your computer’s audio can be really annoying. It affects your enjoyment of music, videos, and online meetings. Learning to fix audio issues quickly is key. Problems like no sound or distorted audio can come from software or hardware issues. Some users have found audio issues like high-pitched noises with certain apps. Also,…
Having no sound on your computer is annoying. It messes with work and fun. Fixing this is key to getting back on track. This guide gives you easy steps to solve sound problems. We will check cables and software settings. By following these tips, you’ll enjoy perfect sound again. This article is packed with advice…