Easy Steps on how to connect ps4 controller to ps4
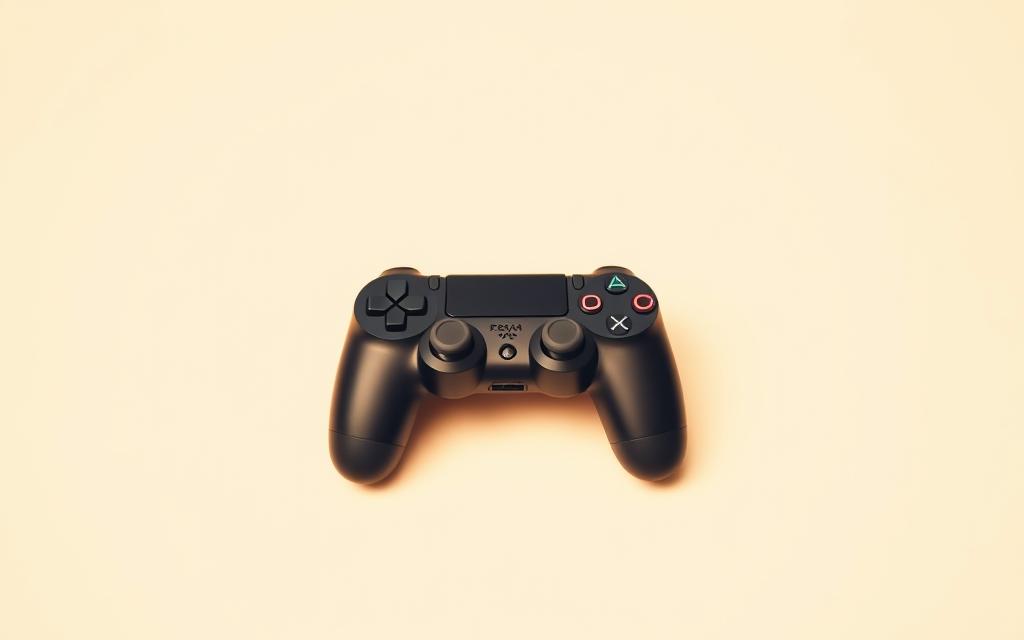
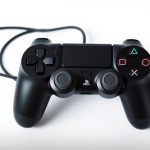
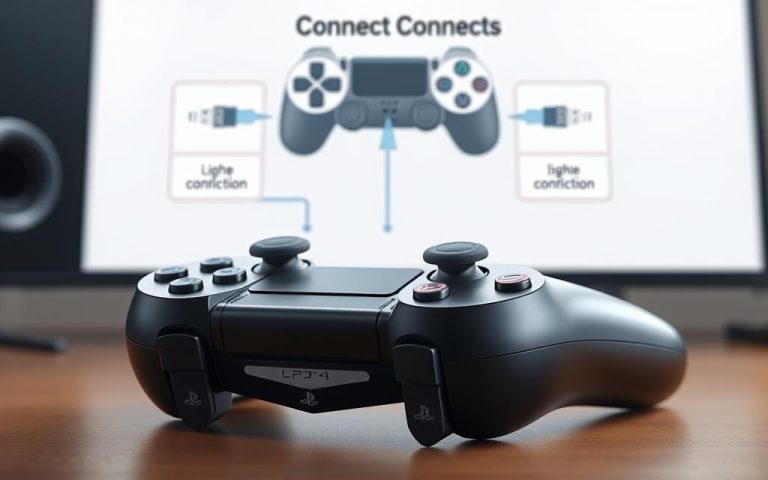
Connecting a new PS4 controller to your PlayStation 4 console is a straightforward process. To start, ensure your console is turned on. Then, use a micro-USB cable to connect your DualShock 4 controller to the console. Press the central PS button on the controller, and the light bar will indicate the connection status.
You can find more detailed guides on connecting your controller on websites like ds4-windows.com. This comprehensive guide will walk you through both wired and wireless connection methods, ensuring you understand the steps required for a successful connection. By the end of this guide, you’ll be able to confidently connect any PS4 controller to your console.
Understanding Your PS4 Controller
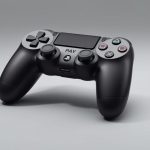
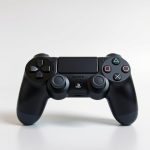
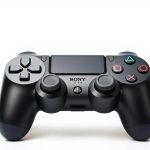
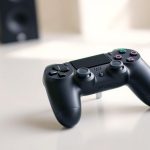
To get the most out of your gaming experience, it’s essential to understand the components and functionality of your PS4 controller. The DualShock4 controller is designed to provide a premium gaming experience, and understanding its features is key to unlocking its full potential.
Components of a DualShock4 Controller
The DualShock4 controller is equipped with various features that enhance gameplay, including a touchpad, speaker, and vibration motors. It’s powered by a rechargeable battery that can be charged using a micro-USB cable connected to the PS4 console or any powered USB port.
The Light Bar and What It Indicates
The light bar on your controller serves as a visual indicator of its status. When the controller is charging, the light bar turns yellow. If it’s not charging, you might have a damaged controller port or a faulty cable.
Battery Life and Charging Basics
The DualShock4 controller typically provides 4-8 hours of gameplay on a full charge. Charging it requires a standard micro-USB cable. A complete charge takes approximately 2 hours. You can check the battery level by holding the PlayStation button and viewing the status on screen.
How to Connect PS4 Controller to PS4
Connecting your PS4 controller to your PS4 is a straightforward process that enhances your gaming experience. To begin, you’ll need to understand the initial steps involved in pairing your PS4 controller with the console.
Using a USB Cable for First-Time Connection
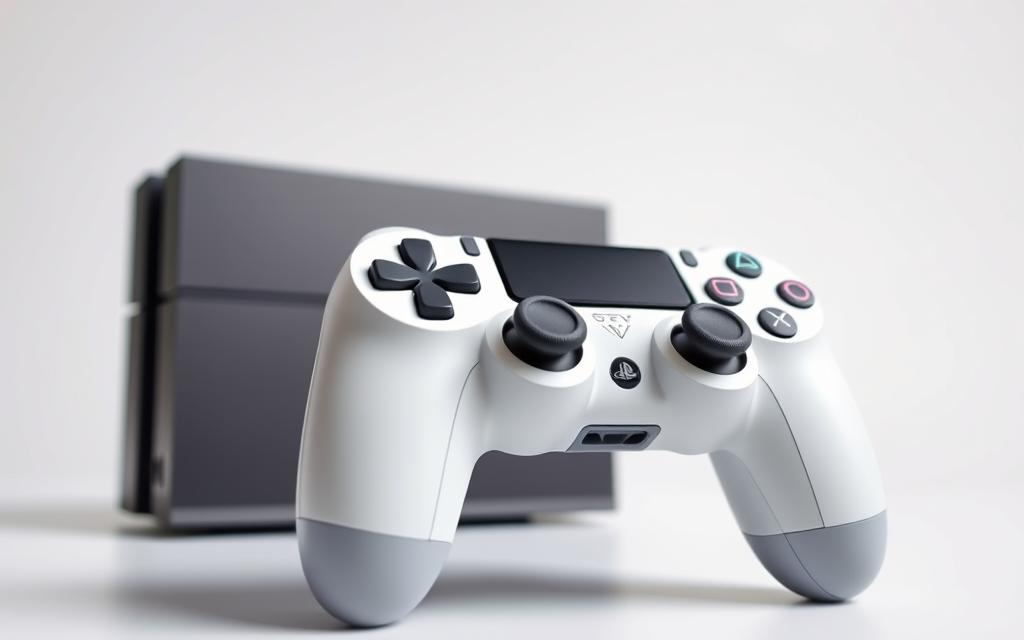
The first step in connecting your wireless controller to your PS4 is by using a USB cable. Plug one end of the cable into the controller and the other into the USB port on your PS4 console. This initial connection is necessary to pair the device with the console.
Step-by-Step Pairing Process
Once the USB cable is connected, your PS4 should recognize the controller. The light bar on the controller will turn blue, indicating it’s connected. You can then use the controller to navigate your PS4 console. The pairing process is simple and requires minimal effort.
Connecting Additional Controllers
The PS4 console supports up to four controllers connected simultaneously, making it ideal for multiplayer gaming. To connect additional controllers, follow the same initial pairing process using a USB cable. After the initial pairing, you can connect wireless controllers by pressing the PlayStation button.
- The PS4 system supports up to four controllers connected at the same time.
- Each additional controller requires a USB cable for initial pairing.
- The system assigns different light bar colors to each controller for easy identification.
- After initial pairing, additional controllers can connect wirelessly.
- You can check the number of connected controllers and their battery status through the quick menu.
By following these steps, you can easily connect your PS4 controller to your PS4 console and enjoy your gaming experience. The use of Bluetooth devices like the PS4 controller allows for a seamless gaming experience without the clutter of cables.
Wireless Connection and Bluetooth Settings
Establishing a wireless connection between your PS4 controller and console is a straightforward process that enhances your gaming experience. The DualShock 4 controller uses Bluetooth technology to connect to the PS4, allowing for a clutter-free gaming environment.
How Bluetooth Works with Your PS4
The PS4’s Bluetooth capability enables a stable and reliable wireless connection between the console and the controller. This technology allows for a seamless gaming experience, with minimal input lag and interference.
Managing Multiple Controllers
If you’re a serious gamer or have multiple players in your household, managing multiple controllers is crucial. The PS4 supports up to four wireless controllers simultaneously. To manage multiple controllers, simply pair each controller to the PS4 via Bluetooth, and the console will recognize and differentiate between them.
Optimizing Wireless Performance
To ensure optimal wireless performance, several factors should be considered. Maintaining an optimal distance of 3-15 feet between your controller and console is recommended. Additionally, reducing interference from other electronic devices like wireless routers and cordless phones can significantly improve controller responsiveness.
- Regularly charging your controller helps maintain optimal wireless performance, as low battery levels can reduce signal strength and increase input lag.
- Positioning your PS4 console in an open area rather than inside a closed entertainment center improves Bluetooth signal transmission.
- Periodically updating your controller’s firmware through the system settings ensures you have the latest performance improvements and compatibility fixes.
Troubleshooting Connection Issues
PS4 controller connection problems can be fixed by understanding the causes and applying the right fixes. If you’re experiencing issues, there are several steps you can take to resolve the problem.
Common Problems and Solutions
One of the most common issues is a faulty Bluetooth connection. To troubleshoot this, try restarting your PS4 and controller. If the issue persists, check your controller settings by navigating to Settings > Devices > Controllers. Ensure that the controller is properly paired via Bluetooth.
If you’re still having trouble, visit this guide for more detailed troubleshooting steps.
How to Reset Your PS4 Controller
Resetting your controller can often resolve connectivity issues. To do this, locate the small reset button on the back of the controller, near the L2 shoulder button.
Using the Reset Button
Use a small pin or paper clip to press the reset button. Hold it for a few seconds until the controller vibrates.
Re-pairing After Reset
After resetting, you’ll need to re-pair the controller with your PS4. Connect the controller to the PS4 using a USB cable, then press the PS button.
Checking for Controller Updates
Ensure your controller is updated by checking for firmware updates in the Settings menu. An outdated controller can cause connectivity issues.
When to Use USB-Only Mode
If you’re experiencing persistent connectivity issues, consider using your controller in USB-only mode. This can be enabled by navigating to Settings > Devices > Controllers > Communication Method > Use USB Cable. Using a micro-B cable or a USB2.0 port can help reduce input lag and eliminate wireless interference.
Some benefits of USB-only mode include reduced wireless interference and lower input lag, making it ideal for competitive gaming. However, it does limit your movement range due to the physical cable connection.
Conclusion
In just a few simple steps, you can have your PS4 controller connected and be ready to play. Connecting your controller to your PS4 console is a straightforward process that requires minimal technical knowledge, making it accessible for gamers of all experience levels.
The initial connection requires a USB cable, but once paired, your wireless controller will connect whenever you press the PS button, providing convenient access to your gaming system. Understanding your controller’s features, such as the light bar indicators and battery management, will help maintain optimal performance during gaming sessions.
If you encounter connection issues, the troubleshooting steps outlined in this guide should resolve most common problems. Remember, your PS4 controller is a sophisticated piece of technology that, with proper care, will provide years of reliable gaming enjoyment. You can also connect it to other devices like PCs or smartphones using similar methods or software like DS4Windows.
By following these steps and understanding your controller, you’ll be well on your way to enjoying your gaming experience without interruptions. Whether you’re a seasoned gamer or just starting out, connecting your PS4 controller is the first step to many hours of gaming fun.
FAQ
What is the easiest way to pair my DualShock 4 with my PS4 console?
To pair your DualShock 4, simply use a micro-USB cable to connect it to your PS4. Once connected, press the PS button, and your controller should be recognized by the console.
Can I use my PS4 controller wirelessly?
Yes, after the initial pairing via USB, you can use your DualShock 4 wirelessly. To do this, ensure your PS4 is turned on, and then press and hold the PS button until the light bar starts blinking.
How do I know if my PS4 controller is charging?
When your DualShock 4 is connected to the PS4 or a charging source via USB, the light bar will indicate its charging status. A steady orange light typically signifies that it’s charging.
What should I do if my PS4 controller won’t connect?
If your controller isn’t connecting, try resetting it by locating the small reset button on the back, near the L2 shoulder button. Use a small pin to press the button, then try pairing it again.
Can I connect multiple controllers to my PS4?
Yes, you can pair multiple DualShock 4 controllers to your PS4. Simply follow the same pairing process for each additional controller you want to use.
How do I check for updates on my PS4 controller?
To check for controller updates, go to your PS4’s Settings menu, then to System, and look for any available updates. Your controller should be connected via USB or wirelessly for this process.
